
 (1)")

No matter how cool you are, serving up fun science projects to the kids automatically boosts your “cool grown-up” factor. We have some tried-and-true fun (and EASY) outdoor STEM activities to keep you busy experimenting and engineering this summer!
Flying STEM | Exploding STEM | Solar & Nature STEM
Flying STEM
Paper Airplanes
Supplies: Paper, Scissors (optional), Paperclip (optional)
This is one of the easiest activities on the list, but I’m always surprised how many kids have never made a paper airplane before. They can get pretty technical, but anyone can make a simple one! If it has been a while or you need to learn yourself, here is an easy airplane. If you are looking for something to add to your repertoire, here are a few more advanced ones. Another twist you can try with these supplies is a paper helicopter.
Once you get your paper airplane technique down and you want to really give it some power, you can try making a paper airplane launcher, like this one!
Hoop Gliders
Supplies: Index card (or cardstock cut down to 3” by 5” size), scissors, tape, ruler, plastic straw (If you need to cut off the bendable part, the remaining usable straw should be between 6”-10”)
To get started, you will measure and cut your card into three 5” strips. You will form two circles with these pieces. The first will be made by taping the ends of one strip into a circle. The second circle will be formed by taping the ends of the remaining two strips together to form a 10” strip, then taping it into a circle. After your circles are formed, you will tape one upright to each end of the straw. This is it! Hold your glider by the straw, then let it fly.
Stomp Rockets
Supplies: Option A– Empty flexible juice container, straw, paper, pencil, tape, scissors, and glue stick Option B- Paper, tape, scissors, 2-liter bottle, bike tube, 1’ PVC, pen or pencil Option C– Several pieces of PVC, cutter, measuring tape, pencil, duct or electrical tape, 2-liter bottle, paper, rubber bands, and cardboard
From small children to grown-ups, stomp rockets bring so much joy to the person launching them! There are several ways to make these, and we have listed a few above in increasing difficulty.
Catapults
Supplies: Raid your junk drawer!
There are so many ways to put a spin on a DIY catapult, and who doesn’t love launching things? If you get stuck and need some inspiration, you can find it here.
Bottle Rocket
Supplies: Plastic Water Bottle, 3 Unsharpened Pencils, Duct Tape, Paper Towel, Baking Soda, Vinegar, and a Cork that Fits the Bottle
Be prepared for this rocket to get some serious air! The last time we let one of these off, it flew higher than a three-story library.
Exploding STEM
Pop Top Explosions
Supplies: Effervescent Antacid Tablets, Water, Small Plastic Container with Plastic Lid (Film canister or similar size)
Okay, I love science experiments that explode, to a point of giddiness. We have done these for years, and I enjoy the “POP” just as much now, as the very first time.
Mentos and Soda Geyser
Supplies: Mentos, 2 liters of cheap diet soda, card stock, tape, scissors
This explosion is a huge crowd-pleaser! You will cut and tape a piece of cardstock to form a tube, cut a slit in the tube, and place a slip of cardstock in there to block the tube. Here is a visual to help. Once you have your tube prepared, you will take the lid off the soda bottle, place the BLOCKED tube over the top of the bottle, and drop a few Mentos into the tube. Once you take a deep breath and are mentally prepared to run after doing this next part, go ahead and pull the slip of cardstock out, allowing the Mentos to drop into the soda bottle. Boom!
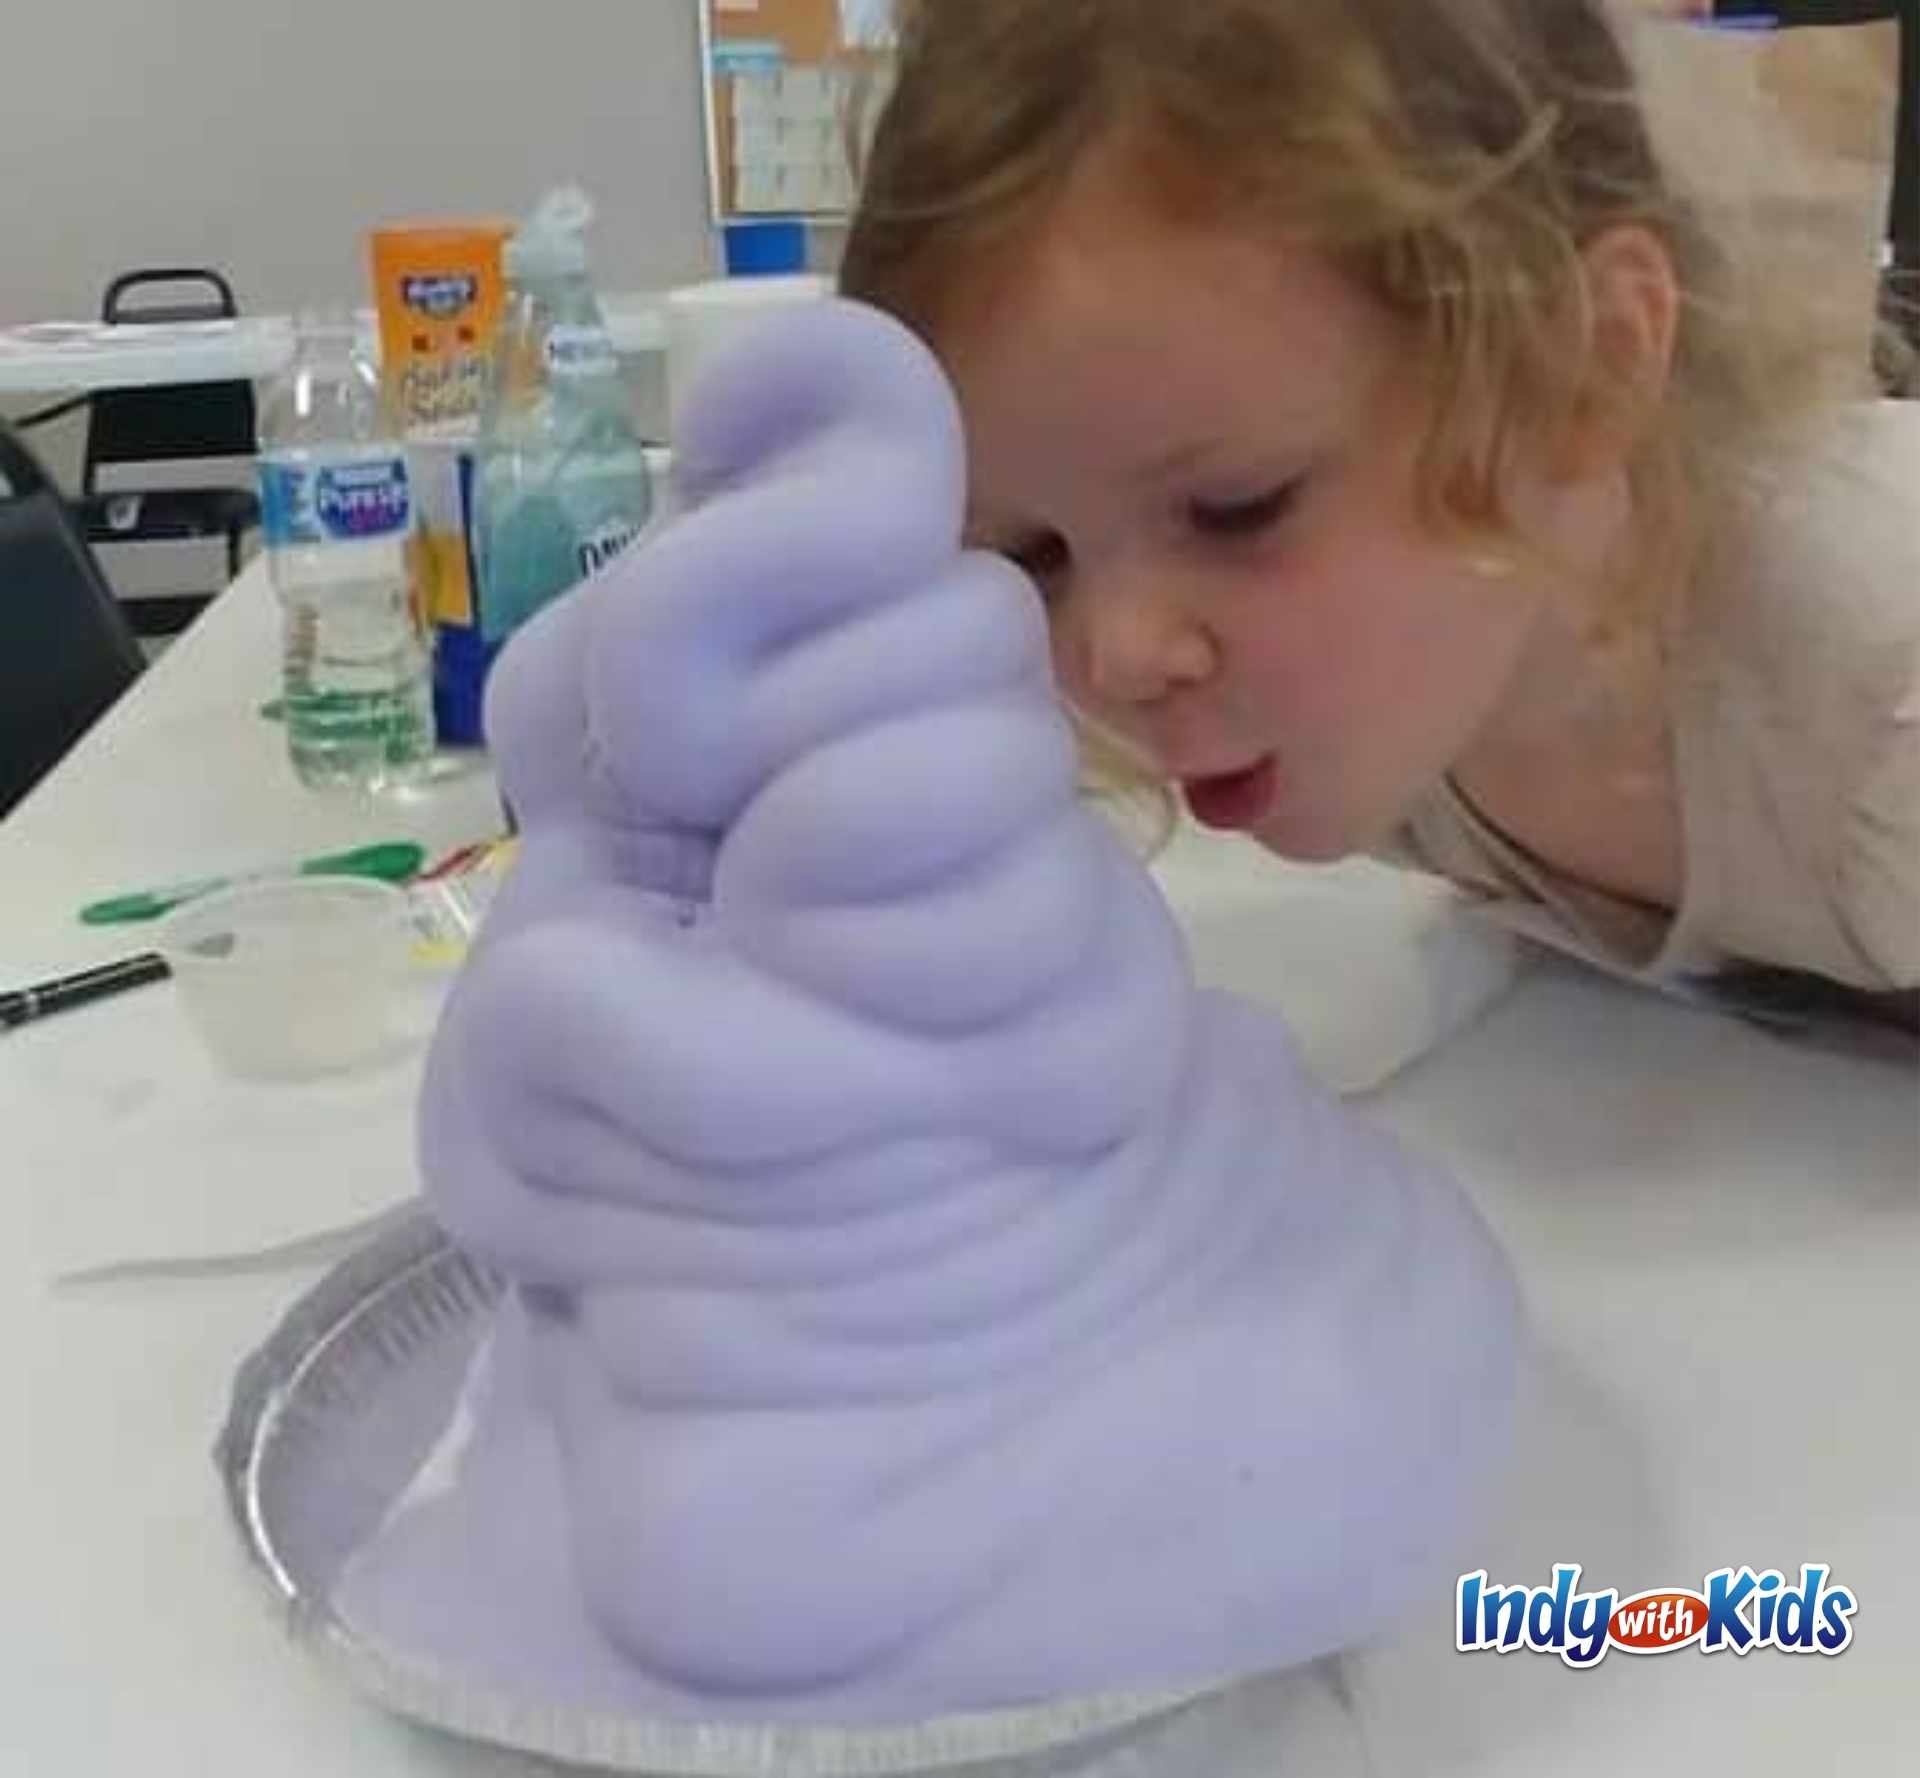
Elephant toothpaste
Supplies: Empty water bottle, 6% Hydrogen Peroxide (The percentage is important here. You can get this at a beauty supply store or order online), liquid dish soap, dry active yeast, warm water, measuring cups and spoons, funnel, tray or baking dish to catch the explosion, food coloring (optional)
This explosion CAN be done inside, but be prepared if you choose to take it indoors! Once the yeast starts to catalyze, this experiment moves VERY fast.
Fire Snake
Supplies: pie tin, sand, 1 tsp baking soda, 4 tsp powdered sugar, a small mixing bowl, lighter fluid, and lighter
This is definitely a hands-on experiment for grown-ups, but it is so cool! Keep water nearby, just in case.
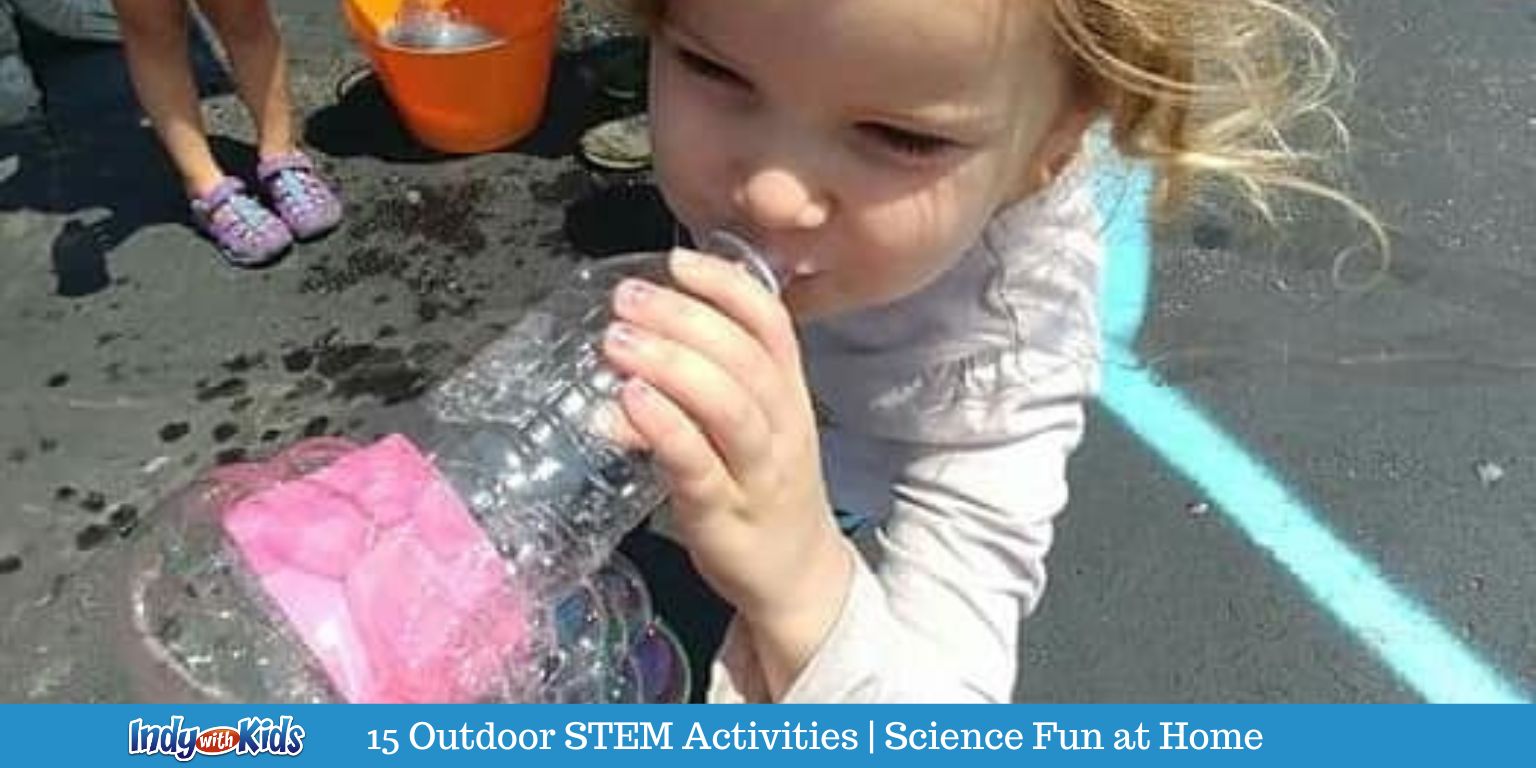
Bubble Snake
Supplies: Empty Plastic Bottle, Fabric Scrap, Rubber Band, Scissors, and Bubble Mix
Start by cutting off the bottom of your bottle, then cover the opening with fabric and use the rubber band to keep it attached. Once assembled, dip the fabric-covered end in bubble mix and blow air through the lid of the bottle to form the snake.
Solar & Nature STEM
Sundial
Supplies: Sidewalk chalk (optional), Rocks (optional), Paint Marker (optional), Stick (optional), Paper Plate (optional), or Marker (optional)
There are many ways to go about this, from making a Nature Sundial from found objects, using a Paper Plate, or even using your shadow to make a Human Sundial.
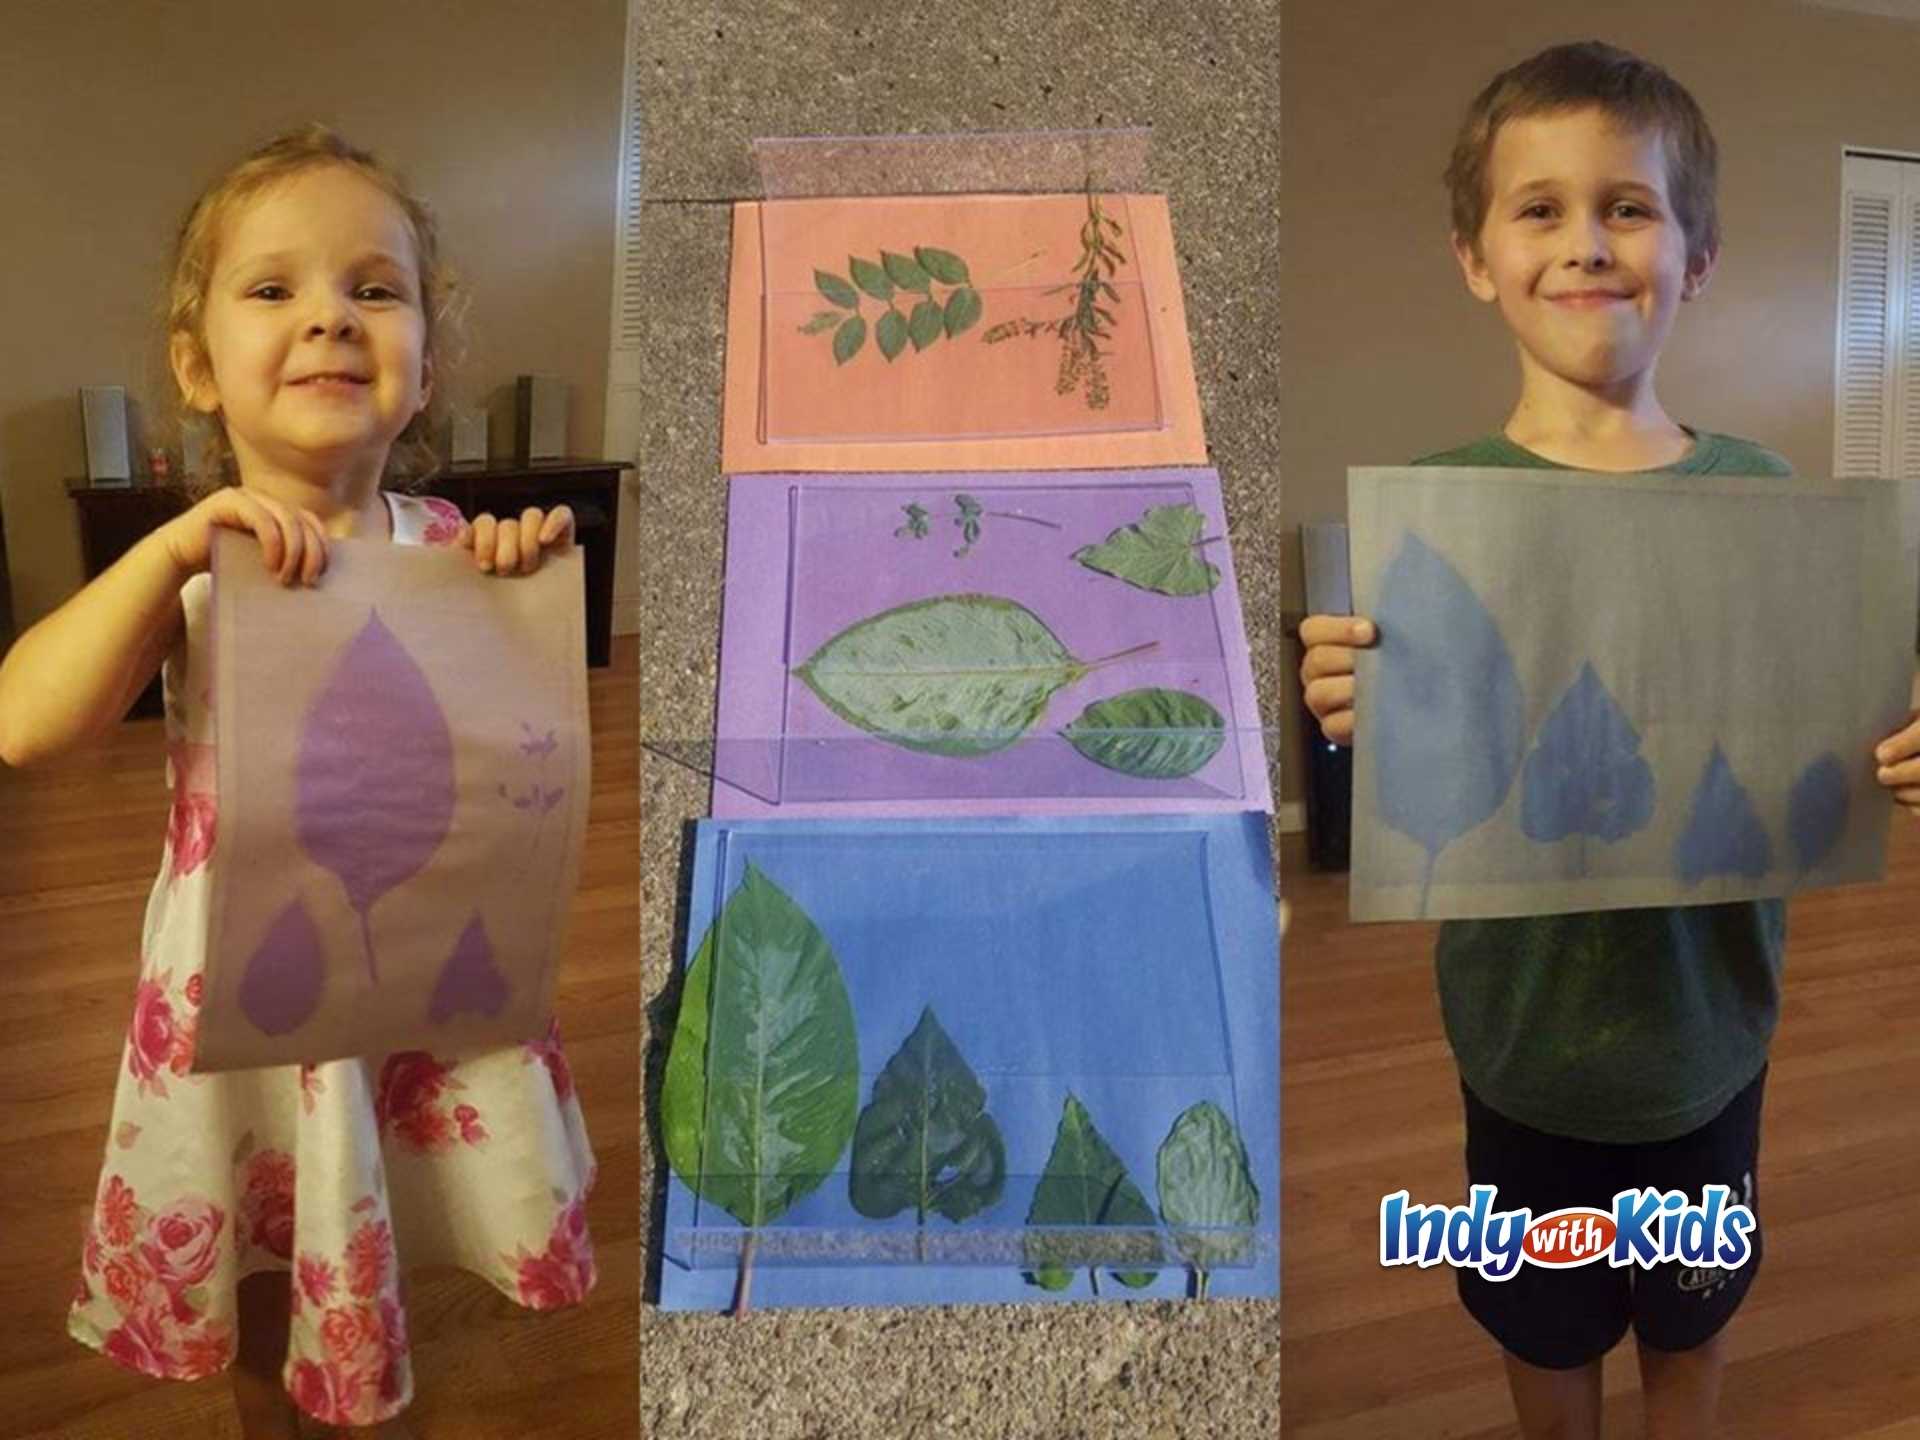
Sun Prints
Supplies: Construction Paper, Found nature objects
All you need to do for this simple STEM activity is to place your items on your paper and leave them in the sun for a few hours. Be sure to weigh them down, if there is a wind. The sunlight will bleach the paper and leave the shape of the object you chose on your paper.
Solar Heat
Supplies: Two Glass Bowls, a Sheet of White Paper, a Sheet of Black Paper, a Thermometer, and a Measuring Cup
This hands-on experiment will show how colors reflect or absorb heat.
Solar Oven
Supplies: Box with Hinge, Aluminum Foil, Plastic Wrap, and Tape
Now that you have made your solar oven, what are you going to cook/melt in there? S’mores are always a favorite here, but there are lots of options- you can even melt and mold old crayons into new ones!
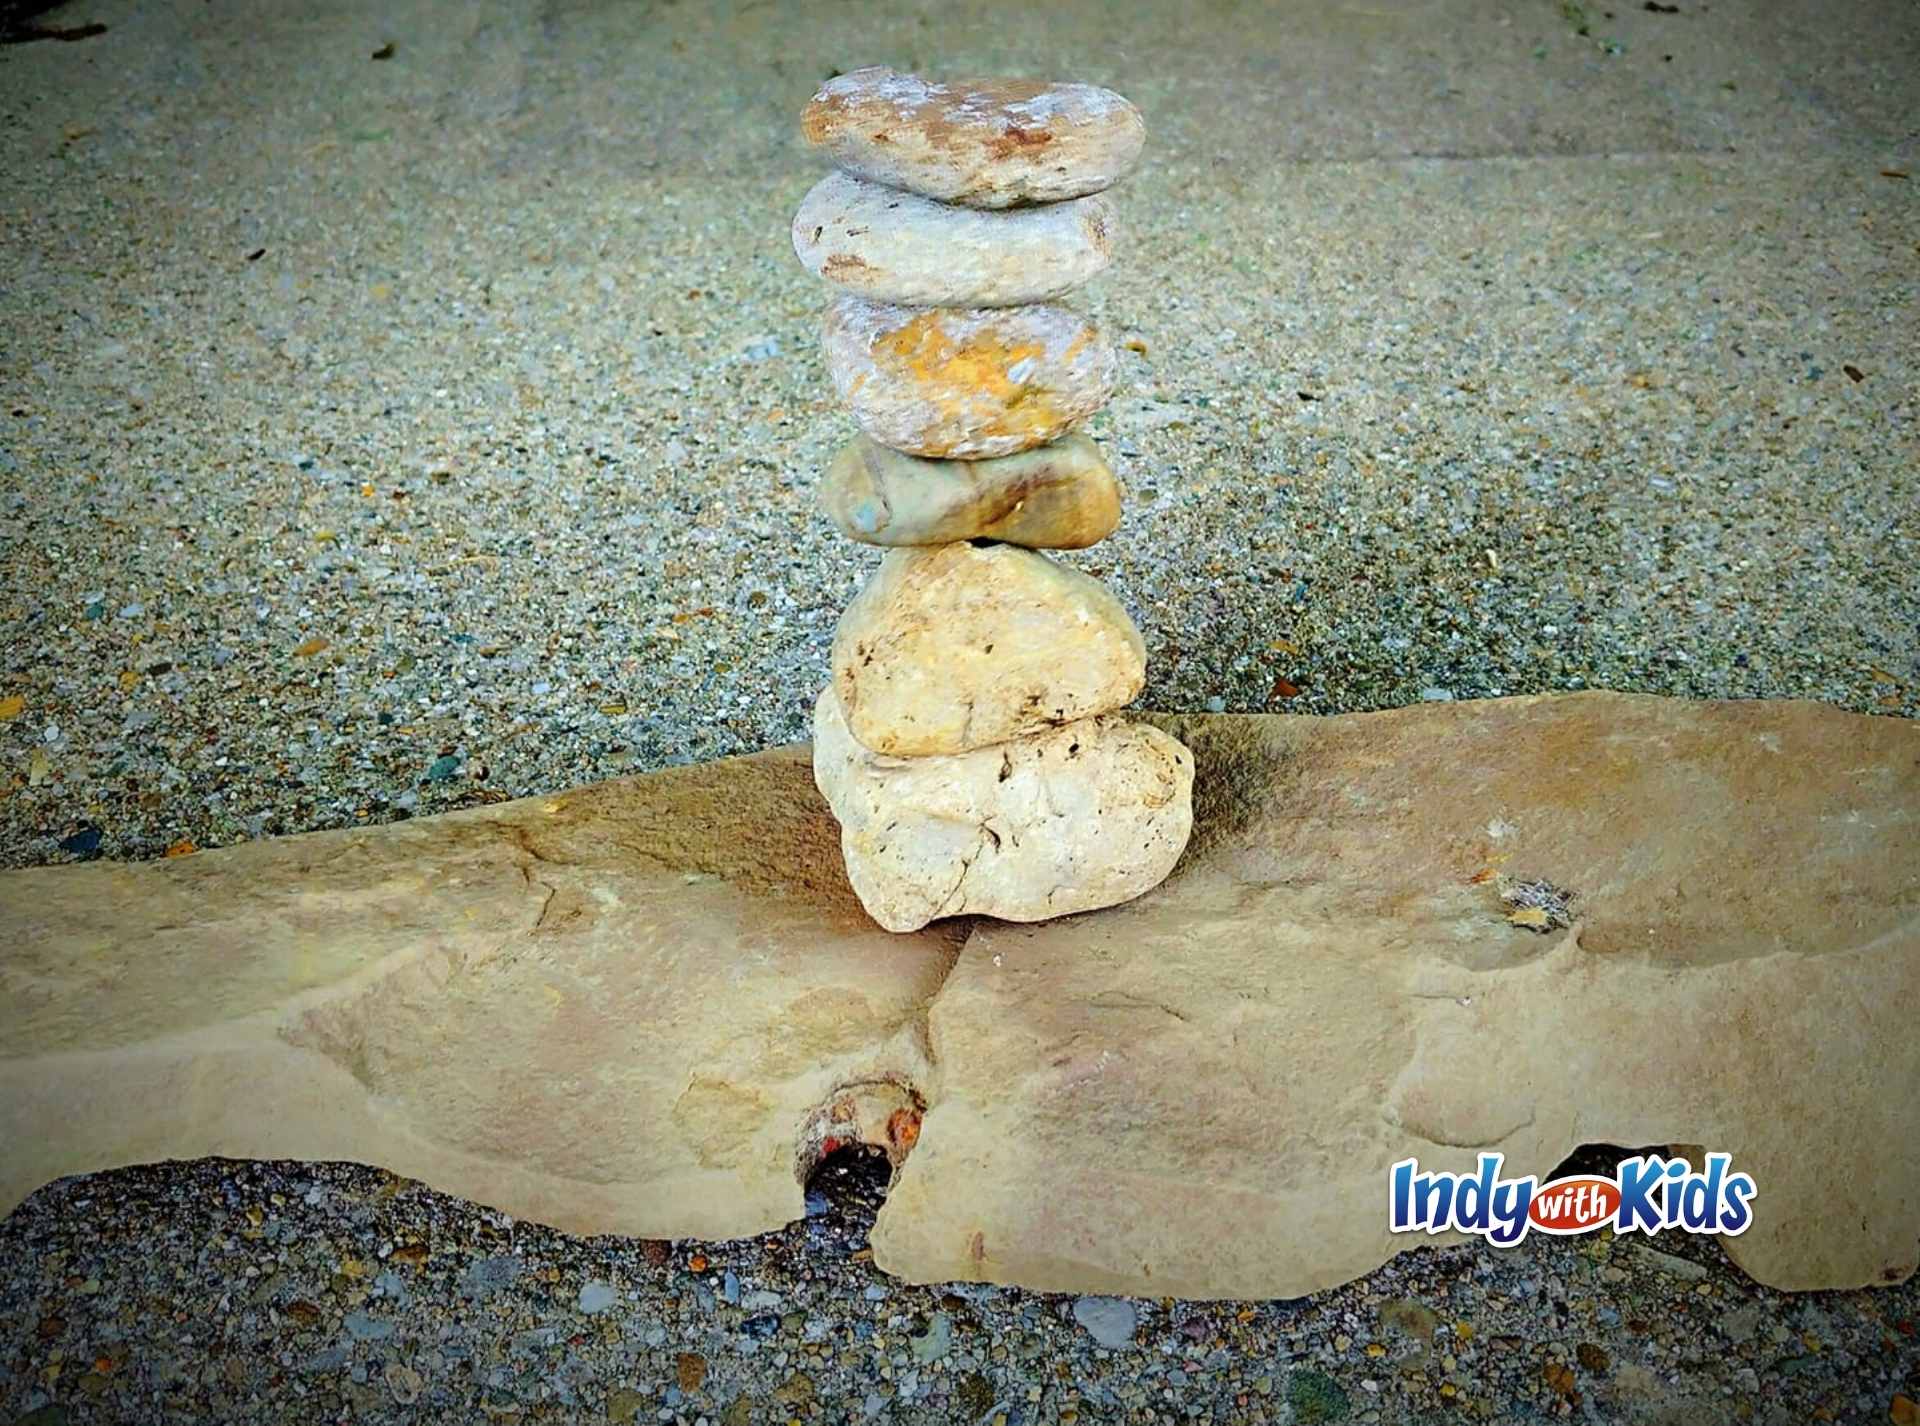
Rock Balancing
Supplies: Rocks
Rock Balancing is so neat and definitely feels like a bit of a magic trick when you get it just right. You are attempting to stack or balance rocks without the use of adhesive. You will need to start with a strong foundation, such as a stump or larger rock. From this point, you will attempt to balance the rocks on top of each other, through likely a bit of trial-and-error.
Have you tried any of these outdoor STEM activities? Share comments and pictures of your favorite experiments with us below or tag us on social media using #PLAYindy. Follow Indy with Kids on Facebook, Instagram, Twitter, and Pinterest for all of the best ideas and things to do with kids in Indy!

